Navigating the Labyrinth: A Comprehensive Guide to The Legend of Zelda: Second Quest Level 4
Related Articles: Navigating the Labyrinth: A Comprehensive Guide to The Legend of Zelda: Second Quest Level 4
Introduction
With enthusiasm, let’s navigate through the intriguing topic related to Navigating the Labyrinth: A Comprehensive Guide to The Legend of Zelda: Second Quest Level 4. Let’s weave interesting information and offer fresh perspectives to the readers.
Table of Content
- 1 Related Articles: Navigating the Labyrinth: A Comprehensive Guide to The Legend of Zelda: Second Quest Level 4
- 2 Introduction
- 3 Navigating the Labyrinth: A Comprehensive Guide to The Legend of Zelda: Second Quest Level 4
- 3.1 The Mirror’s Deception: Level 4’s Layout
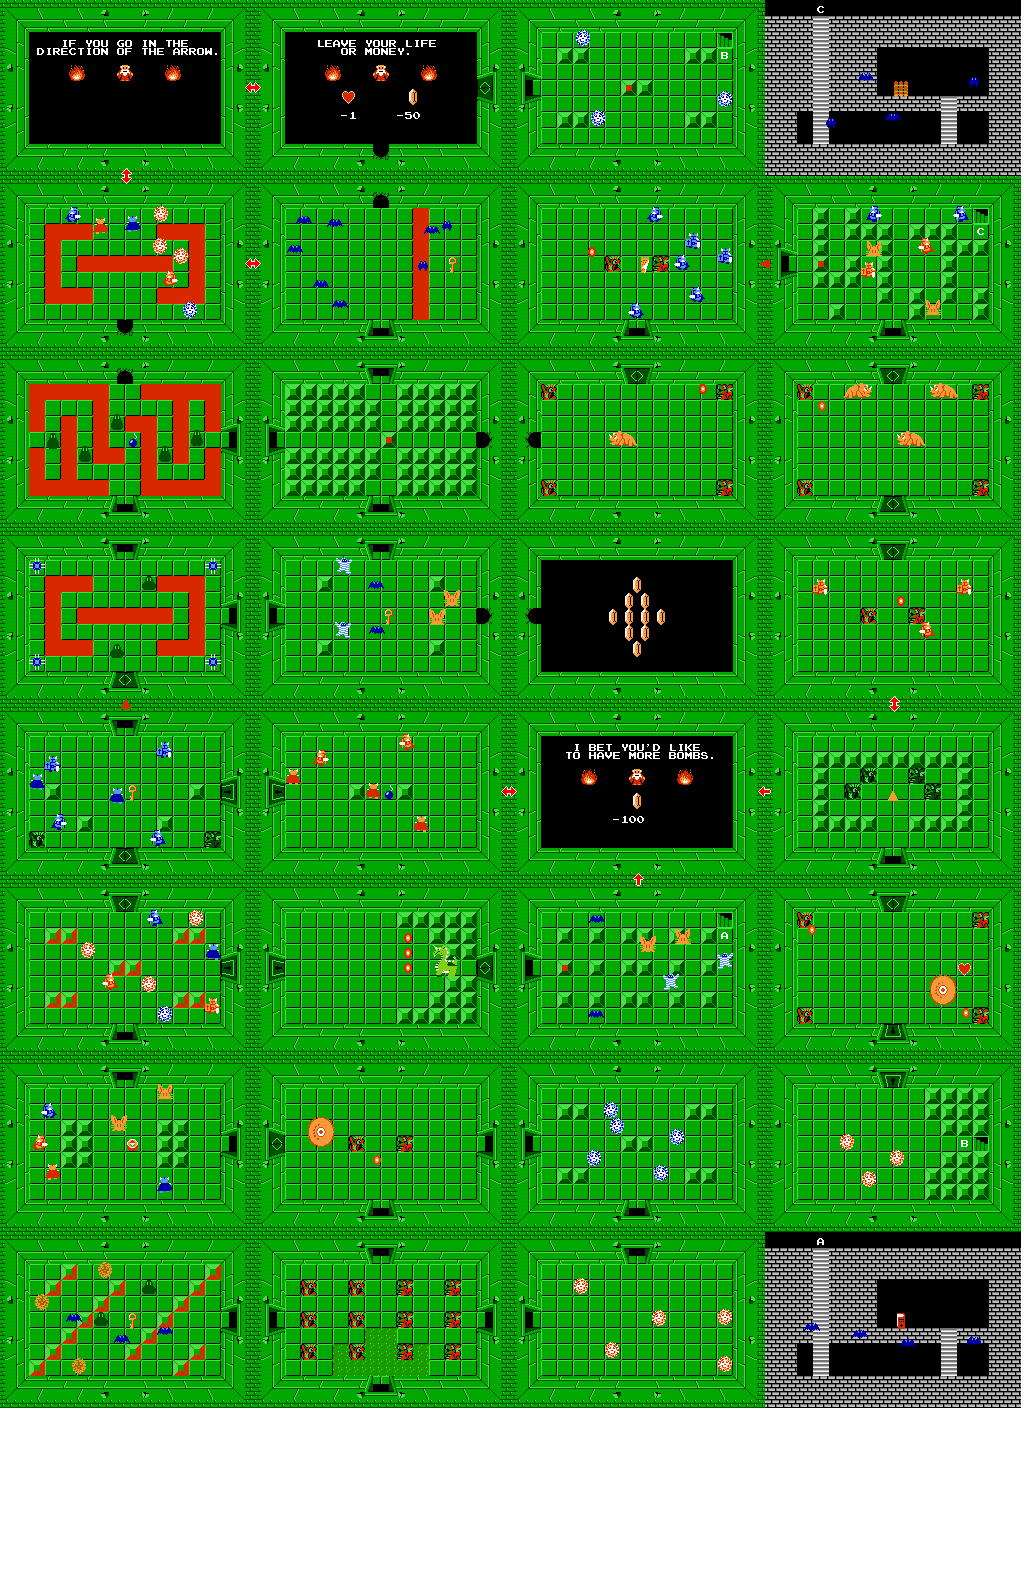
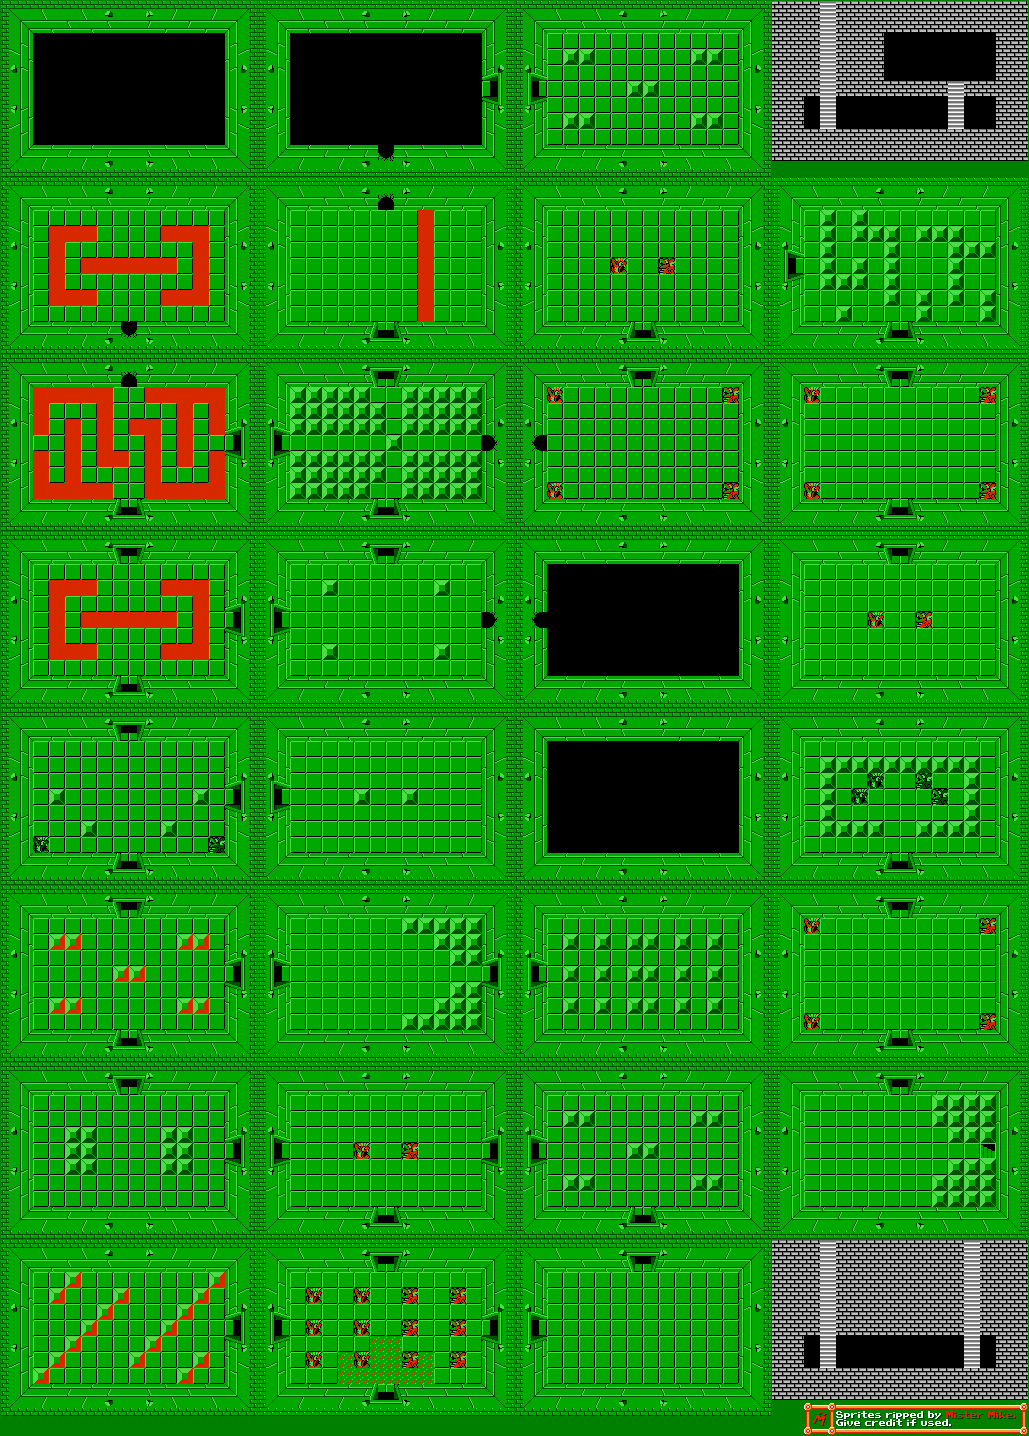
- 3.2 Unraveling the Secrets: A Detailed Map Breakdown
- 3.3 Navigating the Labyrinth: Tips for Success
- 3.4 Frequently Asked Questions
- 3.5 Conclusion
- 4 Closure
Navigating the Labyrinth: A Comprehensive Guide to The Legend of Zelda: Second Quest Level 4
The Legend of Zelda: Second Quest, a 1987 release for the Nintendo Entertainment System, presented a unique challenge to players: a mirrored, inverted world of the original Legend of Zelda. Level 4, the fourth dungeon in this mirrored adventure, stands out as a particularly intricate and challenging labyrinth. This article delves into the complexities of Level 4, providing a detailed map analysis, exploring its unique features, and offering insights for successful navigation.
The Mirror’s Deception: Level 4’s Layout
Level 4’s design is a testament to the game’s mirrored nature. It is a twisted reflection of the original game’s Level 4, with rooms and corridors reversed, requiring players to relearn familiar paths and adapt to new spatial relationships. The dungeon’s central hub, accessed via a hidden entrance within the "Darknut Room," serves as a starting point for exploration.
Key Features of Level 4:
-
The Maze: Level 4 is characterized by its labyrinthine structure, featuring numerous interconnected rooms and corridors. This intricate design creates a sense of disorientation and necessitates careful exploration to uncover hidden pathways and secret treasures.
-
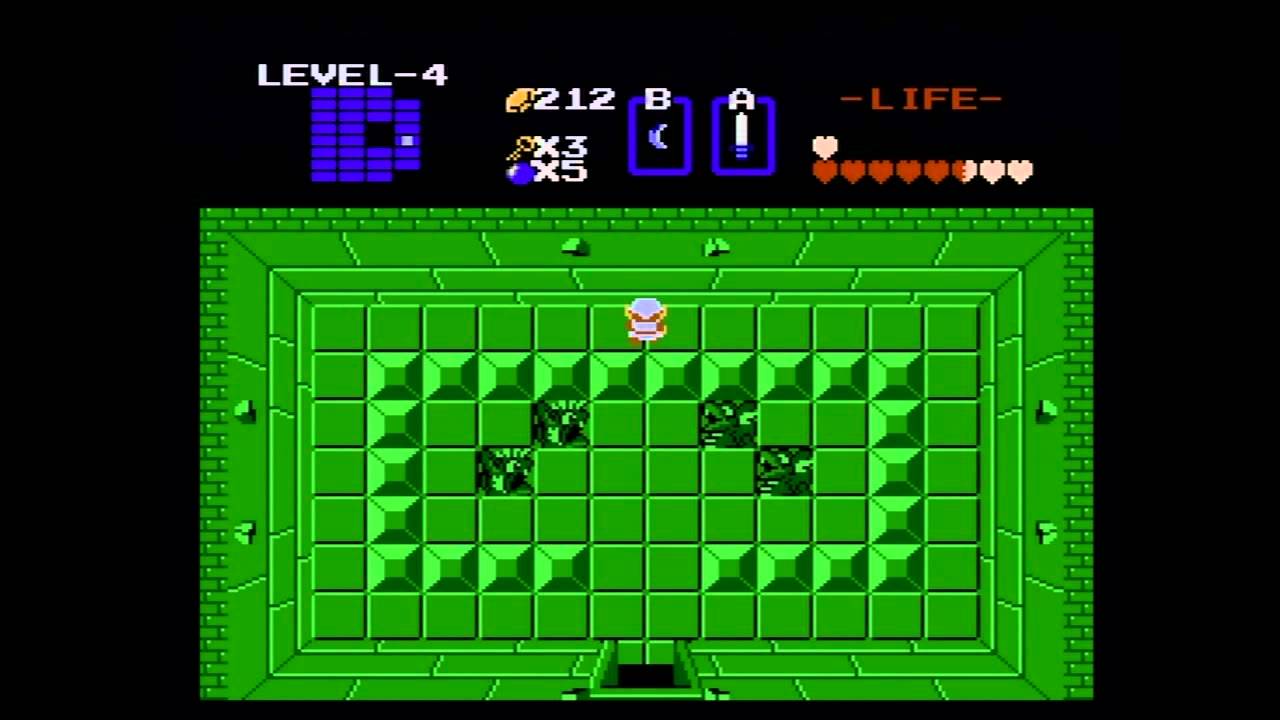
The "Darknut Room": This room, located at the heart of the dungeon, houses two formidable Darknuts. These armored enemies require strategic maneuvering and well-timed attacks to overcome.
-
The "Moosh Room": This room, located near the "Darknut Room," features a unique puzzle involving a "Moosh," a creature that can be pushed and manipulated to open a hidden passage.
-
The "Spike Room": This room, accessed via a secret passage, is a dangerous obstacle course featuring numerous spiked traps. Careful navigation and precise movement are crucial to avoid damage.
-
The "Boss Room": Located in the furthest corner of the dungeon, this room houses the dungeon’s boss, a fearsome "Darknut" with enhanced armor and attack power.
Unraveling the Secrets: A Detailed Map Breakdown
Key Locations and Strategies:
-
Entrance: The entrance to Level 4 is hidden within the "Darknut Room" on the world map. To find it, players must locate a hidden passage behind a seemingly solid wall.
-
Central Hub: The central hub of Level 4, accessed via the hidden entrance, serves as a starting point for exploring the dungeon. It features several interconnected passages leading to different areas.
-
The "Darknut Room": This room features two Darknuts, armored enemies that require strategic maneuvering and well-timed attacks to defeat. Players can utilize the room’s layout to their advantage, using the walls to block attacks and create openings for strikes.
-
The "Moosh Room": This room features a unique puzzle involving a "Moosh," a creature that can be pushed and manipulated. The "Moosh" can be used to open a hidden passage leading to a treasure chest containing a valuable item.
-
The "Spike Room": This room, accessed via a secret passage, features numerous spiked traps. Players must navigate the room carefully, utilizing the walls and strategically timing their movements to avoid damage.
-
The "Boss Room": Located in the furthest corner of the dungeon, this room houses the dungeon’s boss, a powerful "Darknut." To defeat this enemy, players must utilize their sword skills, timing, and strategic maneuvering to break through its defenses and deliver the final blow.
Navigating the Labyrinth: Tips for Success
-
Exploration: Level 4’s intricate design necessitates thorough exploration to uncover hidden passages, secret treasures, and the path to the dungeon’s boss.
-
Map Utilization: Utilizing a map to track progress and identify key locations is crucial for navigating the dungeon’s complex layout.
-
Strategic Combat: Level 4 features formidable enemies, including Darknuts and spiked traps. Players must use strategic combat tactics, timing, and careful movement to overcome these challenges.
-
Item Management: Utilizing the correct items, such as the "Magic Sword" and "Magic Shield," is crucial for surviving the dungeon’s dangers and defeating its boss.
-
Patience and Persistence: Level 4’s intricate design and challenging enemies require patience and persistence. Don’t be discouraged by setbacks, and remember to learn from each encounter.
Frequently Asked Questions
Q: How do I find the entrance to Level 4?
A: The entrance to Level 4 is hidden within the "Darknut Room" on the world map. To find it, players must locate a hidden passage behind a seemingly solid wall. This passage is revealed by striking the wall with a sword.
Q: What is the "Moosh" and how do I use it?
A: The "Moosh" is a creature found in the "Moosh Room" that can be pushed and manipulated. By pushing the "Moosh" against a specific wall, players can open a hidden passage leading to a treasure chest.
Q: How do I defeat the "Darknut" boss?
A: The "Darknut" boss is a powerful enemy with enhanced armor and attack power. To defeat it, players must utilize their sword skills, timing, and strategic maneuvering to break through its defenses and deliver the final blow. Utilizing the "Magic Sword" and "Magic Shield" can also be helpful.
Conclusion
The Legend of Zelda: Second Quest Level 4 is a testament to the game’s mirrored design and its commitment to challenging players. Its intricate labyrinthine structure, formidable enemies, and unique puzzles require careful exploration, strategic maneuvering, and skillful combat. By mastering the dungeon’s layout, understanding its challenges, and utilizing the right strategies, players can successfully navigate Level 4 and emerge victorious. The rewards for overcoming this intricate dungeon are worth the effort, offering valuable items and a sense of accomplishment that reinforces the enduring appeal of this classic adventure.


Closure
Thus, we hope this article has provided valuable insights into Navigating the Labyrinth: A Comprehensive Guide to The Legend of Zelda: Second Quest Level 4. We hope you find this article informative and beneficial. See you in our next article!